




How to install a metal plate on a wall?
 Jan 21, 2026|
 Hey there! As a metal plate supplier, I've seen firsthand how a well - installed metal plate can transform a wall. Whether it's for a commercial building, a subway machine, or a simple selling machine, metal plates add both functionality and style. In this blog, I'm gonna walk you through the process of installing a metal plate on a wall.
Step 1: Gather Your Tools and Materials
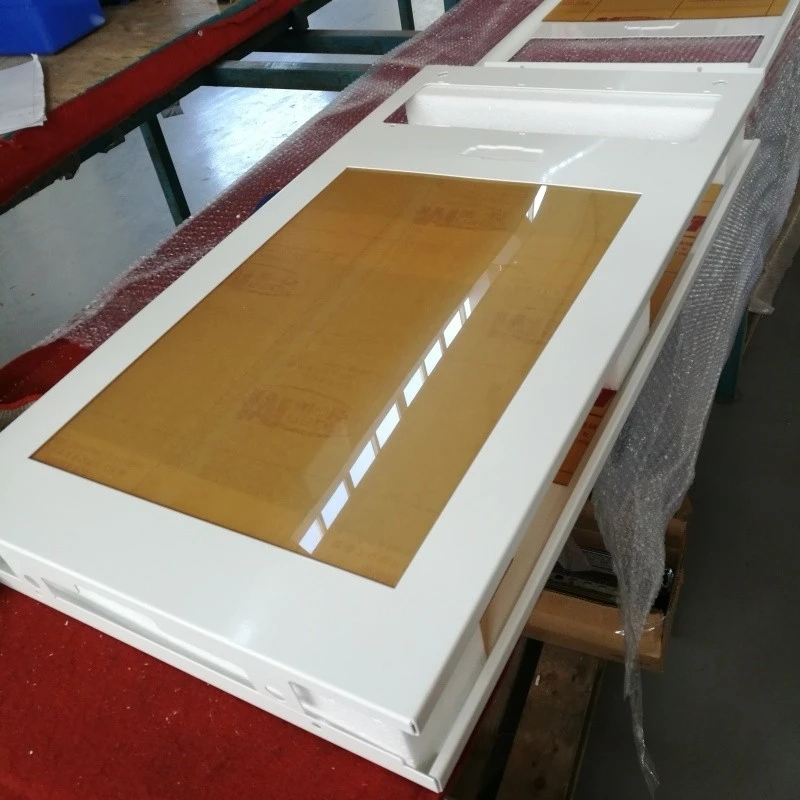
First things first, you need to make sure you have all the necessary tools and materials. You'll need the metal plate itself. If you're looking for different types of metal plates, you can check out our Building Supplies Sheet Metal, Selling Machine Sheet Metal Parts, and Subway Machine Sheet Metal Parts pages.
Besides the plate, you'll also need a measuring tape to mark the exact spot on the wall where you want to install the plate. A drill is essential for creating holes in the wall and the plate. Make sure you have the right drill bits for the type of wall material you're working with. For example, if it's a concrete wall, you'll need a masonry bit.
You'll also need screws and wall anchors. The size and type of screws depend on the thickness of the metal plate and the weight it'll bear. Wall anchors are used to provide extra support, especially in drywall or other soft wall materials. A level is important to ensure the plate is straight and doesn't look crooked. And a pencil will come in handy for marking the wall and the plate.
Step 2: Measure and Mark the Wall
Using your measuring tape, measure the area on the wall where you want to install the metal plate. Mark the top - left and top - right corners of the plate's position with a pencil. Then, use the level to draw a straight horizontal line between these two marks. This line will be your guide for aligning the top edge of the metal plate.
Next, measure the height of the plate and mark the bottom edge's position on the wall, again using the level to ensure it's straight. You can also mark the positions where you'll drill the holes for the screws. Make sure these holes are evenly spaced and in a pattern that will provide good support for the plate.
Step 3: Prepare the Metal Plate
Lay the metal plate on a flat surface. Place it over the marks on the wall (you can use a helper to hold it in place if needed) and use the pencil to mark the positions of the holes on the plate. Once you've made the marks, it's time to drill the holes in the plate.
Put on safety goggles to protect your eyes from metal shavings. Set the drill to the appropriate speed and start drilling the holes at the marked positions. Make sure the holes are clean and free of any burrs. You can use a file to smooth out the edges of the holes if necessary.
Step 4: Drill Holes in the Wall
Now it's time to drill the holes in the wall. Line up the metal plate with the marks on the wall and use it as a guide. Drill the holes in the wall at the same positions as the holes in the plate. If you're using wall anchors, insert them into the holes in the wall. Make sure they're fully seated and secure.
Step 5: Install the Metal Plate
Carefully lift the metal plate and align it with the holes in the wall. Insert the screws through the holes in the plate and into the holes in the wall. If you're using wall anchors, the screws will thread into the anchors. Use a screwdriver or a drill with a screwdriver bit to tighten the screws.

Start with one corner and tighten the screw slightly. Then move to the opposite corner and do the same. This helps to keep the plate straight and evenly aligned. Once all the screws are in place, go back and tighten them fully, but be careful not to overtighten, as this could damage the plate or the wall.
Step 6: Check the Alignment and Stability
After installing the plate, use the level again to check if it's straight. If it's a bit off, you can loosen the screws slightly and adjust the position of the plate until it's perfectly straight. Then, tighten the screws again.
Give the plate a gentle shake to check its stability. If it feels loose, you may need to add more screws or check if the wall anchors are properly installed.
Tips and Tricks
- If you're installing a large or heavy metal plate, it's a good idea to have a helper. Lifting and holding the plate in place can be difficult and dangerous on your own.
- Before drilling, always check for any electrical wires or plumbing behind the wall. You can use a stud finder or an electronic detector to locate these hidden elements.
- If the metal plate has a finish or coating, be careful not to scratch it during the installation process. You can use masking tape to protect the edges and surfaces of the plate.
Conclusion
Installing a metal plate on a wall may seem like a daunting task, but if you follow these steps, it can be a relatively straightforward process. Whether you're using the plate for a building project, a selling machine, or a subway machine, the end result will be worth the effort.
If you're in the market for high - quality metal plates, we're here to help. We offer a wide range of metal plates suitable for various applications. If you have any questions or want to discuss your specific needs, feel free to reach out. We're always happy to assist you in finding the right metal plate for your project and guiding you through the installation process.
References
- General construction knowledge and experience in the metal plate supply industry.
- Various DIY home improvement guides and manuals.